

Mist Trail to Vernal Fall and Nevada Fall
Ready to capture some epic, misty magic? The Mist Trail at Yosemite National Park is your ticket to a waterfall-filled photography adventure! 📸💦
The Mist Trail is about 3 miles round trip to Vernal Fall and 7 miles round trip to Nevada Fall. It’s a moderately strenuous hike, with a steep climb up the stone staircase to the top of Vernal Fall. Be prepared to get wet, especially in spring and early summer when the mist is most intense. It’s a great workout, and the views are absolutely worth it. Just think of it as a refreshing nature shower!
Best Photography Opportunities
Vernal Fall Footbridge
Your first major stop on the Mist Trail is the Vernal Fall Footbridge, about 0.8 miles from the trailhead. This spot offers a stunning view of Vernal Fall cascading down the cliffside. Great views both upstream and downstream, and you’re VERY close to a water fountain if you need a refill!
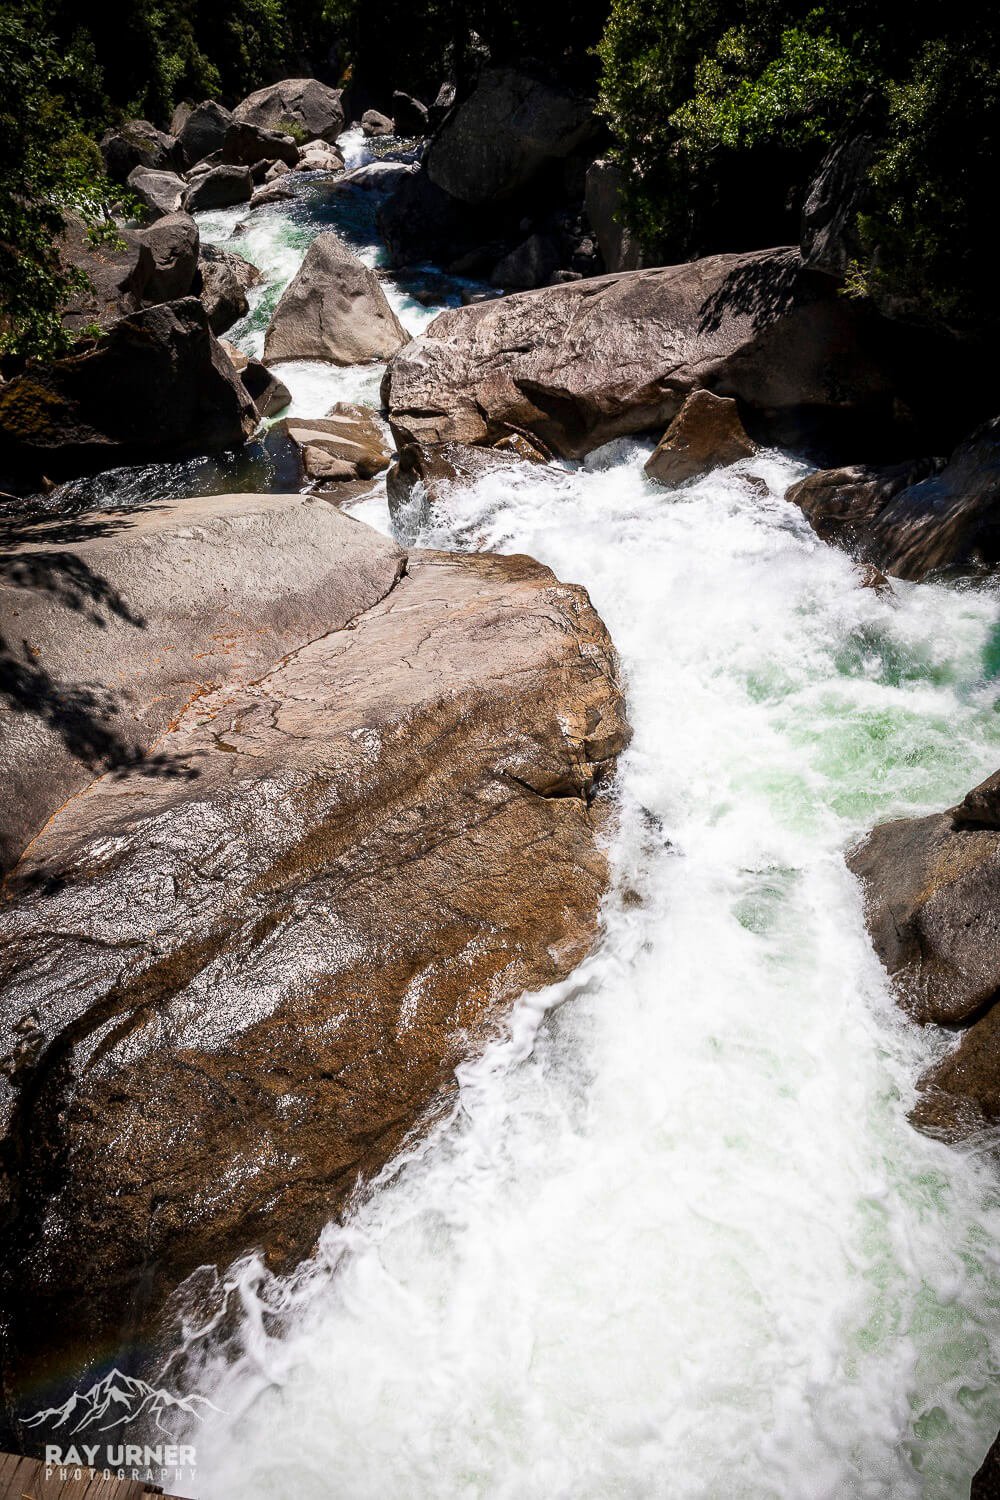
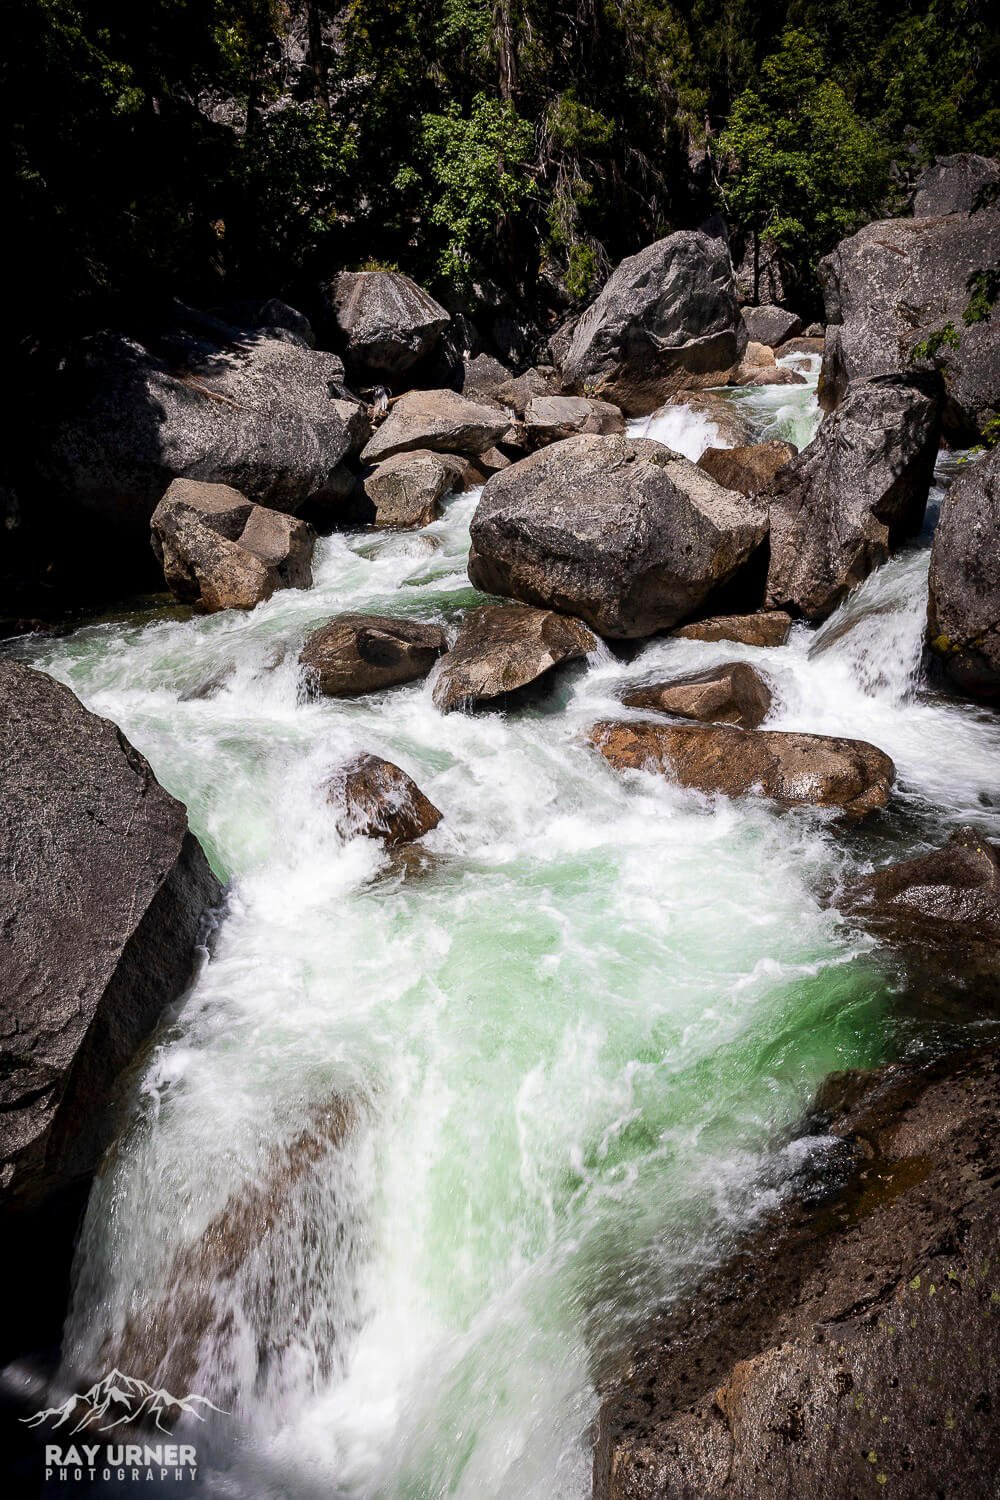
Bottom of Vernal Fall
Continue up the trail, and you’ll reach the bottom of Vernal Fall. Here, you can capture the powerful flow of the waterfall as it crashes into the pool below. The mist can be intense, so be prepared to get a little wet. It’s like nature’s way of saying, “Welcome to my water park!”


Top of Vernal Fall
Climb the steep granite steps to the top of Vernal Fall. The view from here is breathtaking. You can look down at the fall’s 317-foot drop and capture the beautiful rainbow that often appears in the mist. Just be careful not to drop your camera – it’s a long way down!

Nevada Fall
Keep on hiking up the trail to Nevada Fall. Don’t worry, the hardest part is already behind you! Even though you’re still gaining elevation, it’s much more moderate than what you just hiked.

One you’re at the top of Nevada Fall, you can either go straight to Little Yosemite Valley and eventually Half Dome, or hang a right and cross over Nevada Fall, and head back down to the Vernal Fall Footbridge via the John Muir Trail.
Long Exposure Photography for Waterfalls
If you’re looking to add a touch of magic to your waterfall shots, long exposure photography is the way to go. Here’s a quick guide:
Use a Tripod: Keep your camera steady to avoid unwanted blur.
Set a Low ISO: Around 100-200 to minimize noise.
Adjust the Aperture: A smaller aperture (higher f-number) like f/11 or f/16 will give you a greater depth of field.
Use a Slow Shutter Speed: Start with around 1/4 second and experiment. The slower the shutter speed, the more “silky” the water will appear.
Use an ND Filter: If it’s too bright, an ND filter can help reduce the light entering your lens, allowing for longer exposures without overexposure.
Take Multiple Shots: Experiment with different settings to get the effect you like best. Review your shots to make sure you’re capturing the magic.
Remember, getting soaked by the mist is part of the fun! Think of it as nature's way of saying, "Hey, you look a bit dry. Let me fix that for you!" 🌿💦

Where to next?
Artist Point
Cooks Meadow
El Capitan Meadow
Ellery Lake Viewpoint
Hanging Valley Viewpoint
John Muir Trail to Nevada Fall
Lower Yosemite Falls
Mariposa Grove of Giant Sequoias
Merced River
Mirror Lake
Mist Trail to Vernal Fall
Mono Lake - South Tufa Area
Olmsted Point
Pohono Bridge
Sentinel Bridge
Tahiti Bridge
Tuolomne Meadows
Tunnel View
Valley View